Buying Lightroom used to be simple. All you had to do was buy the full version of the program, and upgrade (if you wished) every time a new version came out. But ever since Adobe announced the Creative Cloud subscription service, photographers have been faced with two choices. You can still go for the standalone version, or you can buy Lightroom as part of a Creative Cloud monthly membership. But how do you know which is the best option for you? Read on to find out.
Creative Cloud is announced
Adobe's initial announcement of the Creative Cloud licensing concept was somewhat controversial as the price for a subscription to Photoshop ran at $20 a month (all prices in this article are in US dollars). For photographers who had already purchased the full version of Photoshop this represented a significant price increase. Not only was subscribing more expensive in the long run, compared to upgrading Photoshop regularly, but the license to use the software expired once monthly payments stopped.
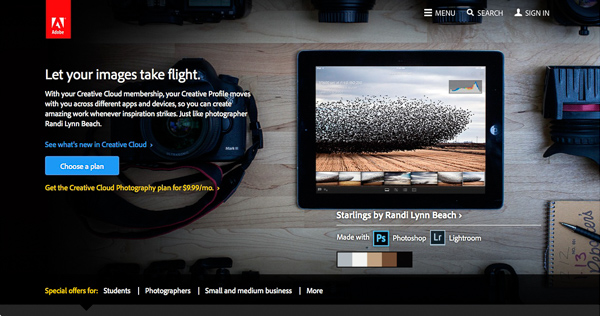
There's little doubt this was a raw deal, but Adobe listened and introduced a new package for photographers - a subscription to both Lightroom and Photoshop CC for $9.99 a month (or $119.88 per year).
Read about this on forums and photography websites and you will still come across a lot of negativity towards the Creative Cloud subscription model, especially from Photoshop users upset at the loss of a perpetual licence. But today, I aim to cut through this negativity and take an objective look at the differences between the two options.
Two types of Lightroom users
To start, we have to acknowledge that there are two types of Lightroom users.
The first uses Lightroom in conjunction with Photoshop and wants access to both programs. For this user, the Creative Cloud option is the only choice if you want the latest version of Photoshop CC. Alternatively, if you own a version of Photoshop CS and are not bothered about upgrading to Photoshop CC, you can buy the standalone version of Lightroom and use them together.
The second type of user carries out the bulk of their image processing in Lightroom. For tasks Lightroom can't handle, they may use an older version of Photoshop, a less powerful program like Photoshop Elements, or a plug-in such as the Nik Collection or Perfect Photo Suite 9. These users may be wondering whether to continue using the standalone version of the software or to subscribe.
Financial considerations
If you are on a budget, and don't need Photoshop CC, then it is definitely less expensive to buy the standalone version of Lightroom. At the moment a new version of Lightroom comes out approximately every 18 months. At $9.99 a month, the subscription service would cost you $179.82 over that period. If you are new to Lightroom, the full version (priced at $149 from the Adobe website) saves you money, and if you already own Lightroom, then the upgrade (priced at $79) is even less, saving you a little over $100 over the same time period.
As a standalone version user you get free upgrades until a full new version comes out. So, if you upgraded to Lightroom 5.0 when it first came out, you can upgrade to the latest version (5.7) for free, taking advantage of new features introduced since then. But when Lightroom 6 comes out, you will need to pay the upgrade fee to use it. Upgrading isn't compulsory, and you can continue to use your earlier version of Lightroom as long as you want.
Adobe have stressed their commitment to continuing the standalone version of Lightroom for the foreseeable future.
Note: The standalone version of Lightroom is a little hard to find on Adobe's website. You can get there by going to Adobe's home page and clicking the Menu option at the top. Click the All Products button at the bottom, scroll down to Lightroom and click Buy. Or you can also find it here on Amazon.

What the Creative Cloud subscription gives you
The Creative Cloud subscription is more expensive, so what do you get for that extra money? The two headline features are Photoshop CC, a powerful image editing program that you are likely familiar with, plus access to Lightroom Mobile, a mobile version of Lightroom that works with iPads and iPhones (but not currently with devices using the Android or Windows operating systems).
There are several additional features that may interest some people, such as 2GB of online storage space, access to Lightroom Web and the ability to use Photoshop CC and Lightroom on multiple machines (although not at the same time).
What happens when the Creative Cloud license ends?
If you stop paying your subscription fee you no longer have the right to use the full versions of Photoshop CC and Lightroom. Photoshop will stop working completely (or at least until you renew the subscription).
But Lightroom is different. Bear in mind that with Lightroom your Raw files are untouched. The edits you make are stored in the Catalog. If you lose access to the Catalog, you lose access to all the edits you have made to your images, including all post-processing.
Adobe doesn't want that to happen, so it gives you partial access to Lightroom even if you cancel your Creative Cloud subscription. You have full access to the Library, Book, Print, Slideshow and Web modules. The Develop module is severely restricted (you can't make any adjustments using the right-hand panels) and there is no access to the Map module.
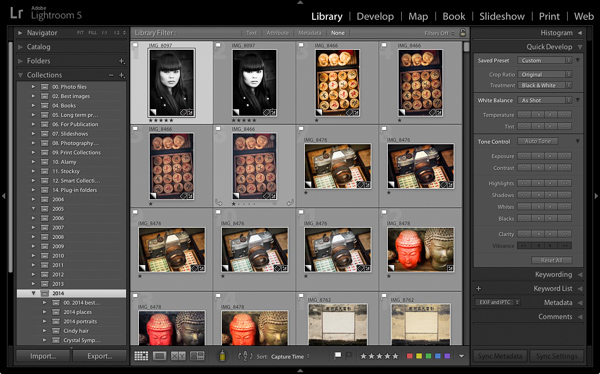
Your Catalog remains intact, including any Collections you're created and any changes to metadata, including ratings and keywords. So does your post-processing, and the ability to make basic edits to photo files using the Quick Develop panel. You can also export your photos any time you want.
You need to have Lightroom Version 5.5 or later installed for this to work.
Conclusion
Hopefully you are now clearer about how the two ways of buying Lightroom differ, and which is best for you. If you want to use the most up to date version of Photoshop CC, or Lightroom Mobile, then the Creative Cloud subscription service is the choice for you.
However, if you don't require the latest version of Photoshop CC, or Lightroom Mobile, then buying the standalone version is the least expensive way to go.
What do you think? Have Adobe got it right with the price and services offered for the Creative Cloud Photography plan? Do you use the Creative Cloud version of Lightroom or the standalone version? Please let us know in the comments.
Mastering Lightroom: Book Five - The Other Modules
My new ebook Mastering Lightroom: Book Five - The Other Modules shows you how to use Lightroom's powerful features to create fun and interesting projects using the Map, Book, Slide show, Print and Web modules. Whether it's geotagging, putting together a photo book, printing your best photos or creating web galleries all the information (and inspiration) you require is right here.
The post How to Choose Which Version of Lightroom to Buy by Andrew S. Gibson appeared first on Digital Photography School.