Editing is the bottleneck part of the workflow for many portrait photographers. We can shoot a great picture in mere seconds, but when it comes to editing dozens of images, it often feels like it takes forever. The biggest editing time saver is of course to get it right when shooting. There are countless things that can't be "fixed" in Photoshop, but editing images isn't meant to be the main part of a photographer's job anyway.
I am always hesitant to talk about editing because I think it gets taken way too far, way too often and in those cases we aren't talking about photo editing, but rather imagery manipulation (which is an art in and of itself, but an art completely different than portrait photography). All of that said, oh how I wish someone had taught me some tricks, and gave me some tips when I first started. You can learn to pose people, find good light and the ins and outs of your camera in time, but learning to edit is a frustrating and lengthy process that used to make me want to go pick-up an application at McDonalds.
Professional photographers who have had great success are often so hesitant to tell their secrets and explain what they have learned. I have never understood that. I could tell you everything I do, exactly how I do it, and if you went about it the exact same way, you would still end up with a completely different image of your own. So here it is, my five best portrait editing tips (along with a bonus extra five tips below) to make your editing process more productive and hopefully much quicker. Because I use Photoshop, these are all geared in that direction, though there should be equivalents for nearly all image editing software.
#1 - Learn shortcuts and use actions
All editing software offer keystroke shortcuts and actions (or similar) to make the things you do often easier and quicker. I could have a four year degree in Adobe and still likely just be scratching the surface of what can be done with photo editing software like Photoshop and Lightroom. Luckily I don't have to store all of that in my brain (which is already pretty crowded with song lyrics and useless trivia), because I have memorized the keyboard shortcuts for the tools I use most often and have set up all of my customized actions to run on my F keys. Not only does this make editing ridiculously quick, it also means that I give 100% of my attention to a shoot and when it comes time to be an editing machine, I can sing-along to my terrible music and multi-task straight through it.
#2 - Have one black and white and one color process
Converting an image to a fun vintage or using your skills to cross-process is tempting, and maybe here and there, it's fun. But the easiest way to scale back the amount of time you sit staring at editing software is to streamline your process and this means doing all of your images in the same manner.
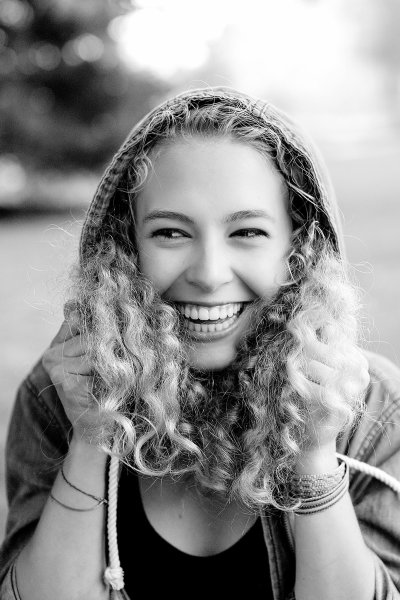
I have one way that I do black and white images that I have programmed into a single action. Same with my color shots. I do whatever basic touch-up I'm going to do first, then I hit play for either my color or black and white action. Because I always photograph people, this simple task works for every photo I need to edit. It also has the added bonus of giving my images continuity and a signature look.
My color images look different than yours - and they should! You should have a color process that gives people a hint that you took the image. Same for monochrome; I want someone to look at a black and white photo I took and know "that's one of Lynsey's photos". This not only cuts down on editing time, but also helps define your brand.
#3 - Run auto options
When I get tired because I've been editing for hours on end, I can stare at an image forever and know that it needs something but I have no idea what. This is when it's time for two things: to change the music you're listening to and to run an "auto" function - auto color, auto tone, or the auto RAW image editor - not typically to use it, but to see what your software, in all its brilliance, thinks you should do. Sometimes it will have good ideas and sometimes it won't, but it will always gives you a look at the image in a different way, which can be extremely helpful.
#4 - Accept a few universal truths
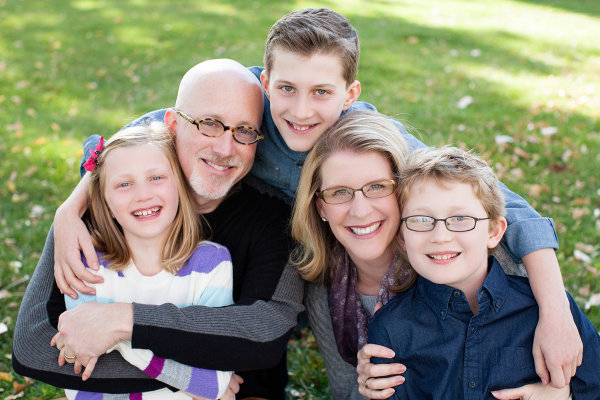
Everyone has one eye that is larger than the other. Kids will always have a scratch or scab somewhere. Double chins can happen to anyone. Most adults have a physical feature they aren't 100% happy with.
My husband has a gorgeous head of hair. At an age when many men are shaving their heads to supersede a bald spot, my husband gets asked if he does shampoo commercials. (He should, if only so we can become millionaires already, and get a pool.) You would think this would make for great pictures - not having to work with a shiny head reflecting everywhere - but you'd be wrong; you see, he hates his forehead. Which I think is ridiculous as it's perfectly proportioned to his head and glorious hairline. But, even though he is my husband and knows I am always right, there is no convincing him on this issue. Nor is it my place to try when taking his picture.
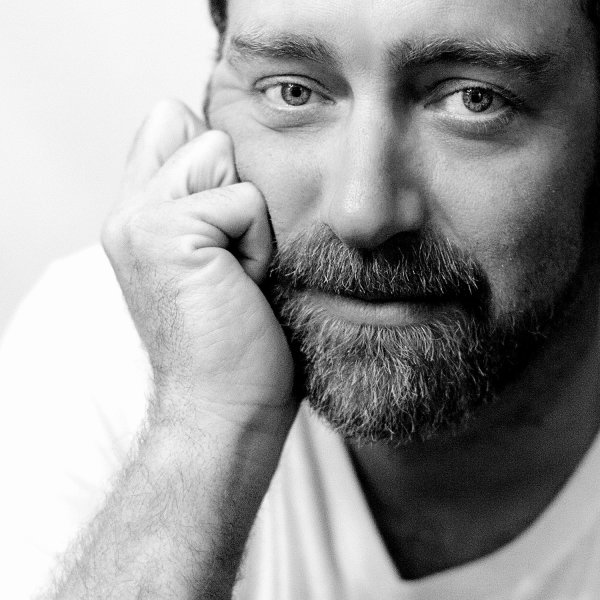
The best thing I can do for anyone who expresses concern for a facial or body feature is give them a picture where they aren't going to see their perceived flaw immediately. Pull out the great features so that you aren't trying to both, take good pictures, and also change their mind.
#5 - Aim for people to look exactly like themselves, turned up ONE notch
You are not a plastic surgeon. We all want our clients to love photos of themselves but that shouldn't come at the cost of you having to spend a great deal of time manipulating an image. My rule is simple: I don't edit permanent features or make massive changes to faces or bodies. If you have a mole, I'm not going to touch it. But if you happen to have a pimple on picture day, fixing that is the least I can do for you. I sometimes dodge eyes lightly (keyboard shortcut O), but never in an obvious way. I may whiten teeth a bit (using the magnetic lasso and hue/saturation levels), smooth out a chin line (clone stamp and healing brush), or pull in a lumpy bit at the waist or otherwise (liquify and clone stamp), but only in a way that is more flattering and looks the way I know they usually would if they didn't have a giant camera in their face, uncomfortable clothes on, and were running around after kids, or just generally feeling awkward like people tend to when someone is taking their picture.
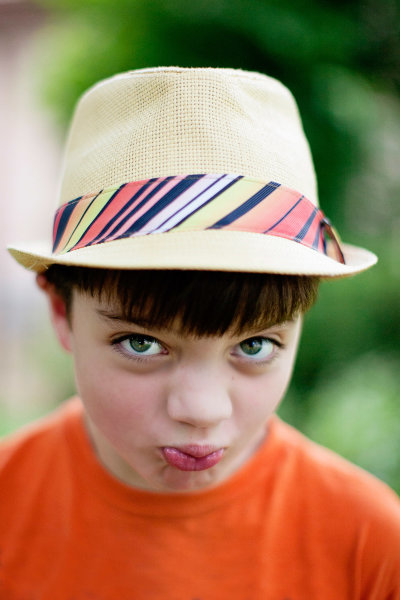
Like many other portrait photographers, I use a retouching tool (Totally Rad Pro Retouch action is my preference) that I apply liberally with the brush tool to all faces and then scale back by lowering the opacity. This allows for skin to look natural - normal skin has lines and freckles and areas rosier than others, but takes care of the small bumps and spots that cameras have a way of highlighting and putting on display.
What happens when you blow it? You took shots that no amount of editing could make great? You vow to do it right next time, that's what. Here is a little lagniappe from me to you:
My five best quick portrait tips for getting it right in camera
1.) Shoot from above
Always have your subject lower than you so you are shooting downward. This can prevent double chins, unflattering angles, and in my husbands case, imaginary big foreheads. Unflattering portraits are most often due to bad camera angles and that is something that can't be changed in any editing process.
2.) Avoid "dead light"
Shade is a wonderful thing for natural light photography, but large patches of shade, particularly in the morning hours, can often be very cold for color temperature. Everyone looks better with a little warmth, so strive to shoot in shady area that feel more warm in tone (think orange, yellow, red) than cool (blue).
3.) Suggest solid clothing or large scale prints. Small prints on a shirt tend to make people look larger.
4.) Photograph people doing something....anything. Avoid a boring portrait that is "all face" by having moment or action-this can be as small as involving their hands to frame their face or something more significant like leaning on wall or, my favorite, spinning.
5.) Talk honestly with your subjects beforehand. Find out what features they feel most comfortable with and anything they would like you to avoid or watch out for. I've heard it all, from people swearing they have tiny heads to people who felt their large feet would throw off the entire photo. The single best thing you can to ensure they will like their photo is listen to them before you even take one. It is not your job to tell them they are wrong about their insecurities-it's your job to try and show them they are likely being over-critical. Hear their words so you will be mindful of their concerns and photograph them looking beautiful. Or handsome. Or at least like they don't have a big forehead.
The post 5 Tips to Cut Your Portrait Editing Time in Half by Lynsey Mattingly appeared first on Digital Photography School.
No comments:
Post a Comment