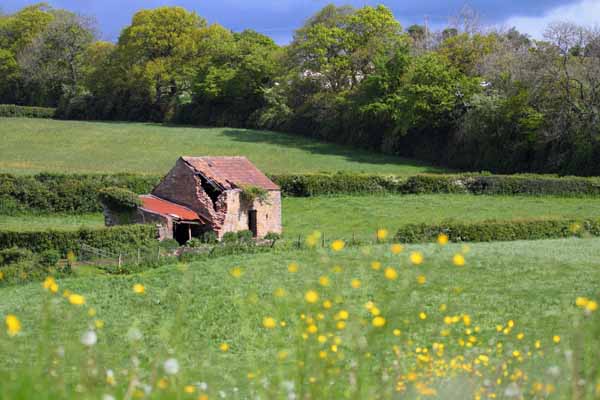
In many ways, shutter speed is an inaccurate term. I read an article a few years ago and the photographer referred to shutter speed as shutter time. The logic was spot on. A shutter always opens or closes at the same "speed". The key value is how long the shutter stays open, hence shutter time. On Canon cameras the shutter speed function (shutter priority) on the mode dial is abbreviated to Tv, which stands for "Time Value", and is a more accurate description of what this article is about. I am going to refer to shutter time as opposed to shutter speed, it sounds crazy, but it will make more sense. The reason this definition is important is because, we are going to be looking at how you can use the time that the shutter is open (and gathering light onto the sensor) creatively.
In a sense, shutter time is a bit like time travel. You camera's shutter can open and shut in 1/8000th of a second. Think about that. Take one second, divide it by 8000 and one of those units is the time your shutter was open. That is very quick. On the other end of the spectrum, you can shoot super long exposures of 20 or 30 minutes. That means the shutter stays open for that length of time. Again, amazing. Think of all that light falling onto the sensor during that time, and the images that can be created doing so.
The shutter time becomes more than simply a moment in time, it could be a split second (literally) or a few seconds. The resulting image will capture and freeze the moment or, with a longer shutter time, there will be blurred movement. This is the fun part of photography. In many ways, your camera can "see" events that happen which you cannot. The camera can capture a frozen moment and suspend your subject in that moment forever, this is like magic. The compelling images are amazing to see and are reasonably easy to make, so let's take a look at a few of them and see how they are done.
6 Ways to Use Shutter Speed Creatively
1. Freezing the moment
These are the images we all know about; ones that have captured a frozen moment in time. Normally these are sports images, the winning goal, or the knockout punch connecting. They are intriguing to most people and are compelling because we can't freeze the moment in our eyes. We see a moving, continuous rendition of the events happening in front of us. You have seen "slo-mo" shots of the winning goal; the frozen moment image is that equivalent.
These images take a bit of practice to get right. Lets assume for a moment, you are photographing a soccer match. It is great to get action shots, but you will want to get any shots of the teams scoring goals. You will then need to have the correct lens. In sports photography, it will be a pretty long zoom or telephoto lens. Most sports photographers will use 400mm and longer. You will also need to keep your camera steady. A tripod in these cases is somewhat impractical as you need to be able to move the camera quickly and easily to follow the game. A monopod is normally what works best.
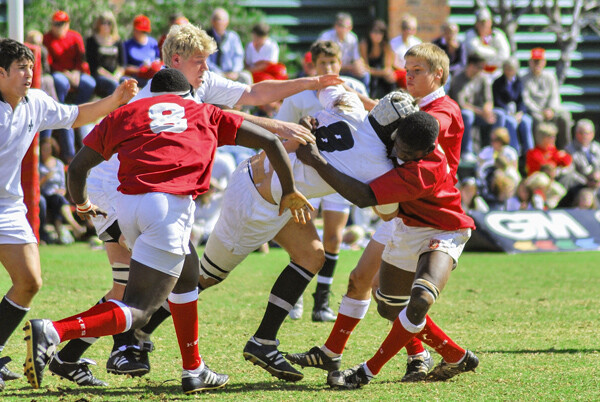
Depending on the lighting conditions you need to make sure you have a shutter time that captures the players in mid-action. You also need to take the lighting into consideration. If you are shooting in an outdoor arena, the natural light may be sufficient, but if you are in an indoor arena, you might need to be more aware of your exposure. In that case, you may need to push your ISO up high enough to allow you to freeze your subject. In most sports 1/1500th of a second is the starting point for freezing action. In very fast sports like ice hockey, soccer, rugby and so on, you may need to be shooting at even faster speeds than that. This is how you set up the shots.
Technique
How to do it: Set your aperture to an aperture setting of f/2.8 or f/4.5. This will allow for a quicker shutter time, which will in turn freeze the action. If you are shooting a sporting event in the sunlight, you may need to have your shutter time set to 1/1500 or faster. If this is still not freezing the action, make the shutter time even quicker. Try and anticipate the action and release the shutter at the moment you think it will happen. Be aware that your focus will need to be spot on. With a wide aperture, you run the risk of misfocusing and missing a shot. I once heard a sports photographer say this " If you see the goal in your viewfinder, you missed the shot". When you do get that shot though, it will be worth it.
2. The decisive moment
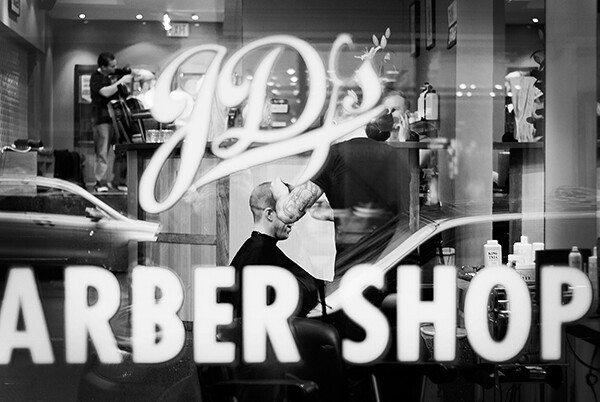
Henri Cartier-Bresson coined the phrase, "The Decisive Moment". Do a google image search on Cartier-Bresson and the decisive moment, you will see many of his great images. He was well known as a street and people photographer, and he believed that you need to choose the precise moment when something happens to hit the shutter release. As you can imagine, this is not easy. Sometimes this might mean you need quick reflexes.

Most of the time, it requires patience. He would often set up the shot, get the framing right and then wait. You don't want to wait for hours, but be patient, sit there for 20 or 30 minutes and watch the scene. Take note of how people are moving into, and out of your frame. When time is right, or the perfect subject (person, vehicle, animal, whatever you choose) moves into the best position, release your shutter at that moment. This will take practice and more than a few shots to get it right, but when you do, you will be ecstatic. The shot will look candid, but you will know what it took to get that image. Many people assume Cartier-Bresson's images were simply shot quickly from the hip, but much of the time they were planned and he waited patiently for the decisive moment.
Technique
How to do it: You need to think of a scene you would like to capture, visualize it. You may want to capture the comings and goings at a coffee shop in your city. You may want to have someone with a red coat sitting outside, sipping coffee. You should then set up and frame your shot, then sit there until the scene unfolds. Someone with a yellow jacket may sit down, which might work too. So be flexible, but be patient, sooner or later the shot will unfold.
3. Abstract and creative blur
As I said earlier, shutter time is a bit like time travel. You can capture an infinitesimally small slice of a moment, and in other cases you can capture seconds, or even minutes. When the shutter is open, light is coming through your lens and falling onto the cameras sensor. If you allow this to happen for a long enough time, some part of your image will blur. Sometimes blur in an image is unwanted. This happens when your shutter time is too long, your camera moves unintentionally, and the image is ruined.
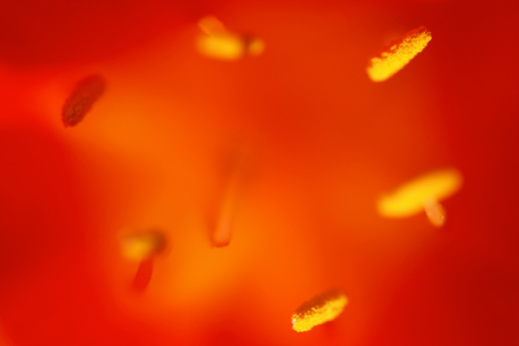
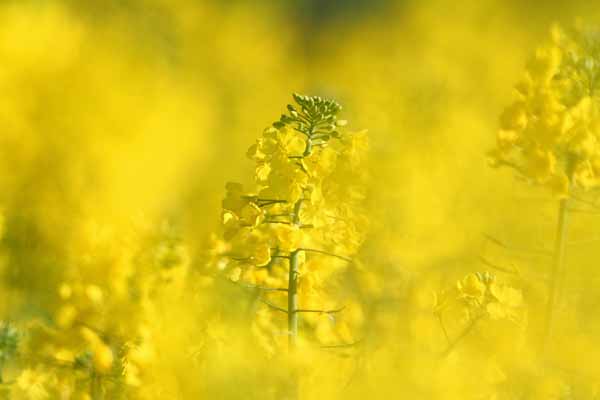
A close-up image of a flower, shallow depth of field blurs the background, but the yellow stamens are in focus.
The kind of blur I am talking about here is intentional blur. This technique can be used to make slightly, or completely, abstract images, depending on the shutter time. The longer the shutter time, the more movement there is, and the more blur you will see. Blurring can be the result of your subject moving, you moving the camera, or both. If your subject is moving and the camera moves, the blur can be very dynamic. If your camera is on a tripod and the subject moves, this creates a sense of speed.
Technique
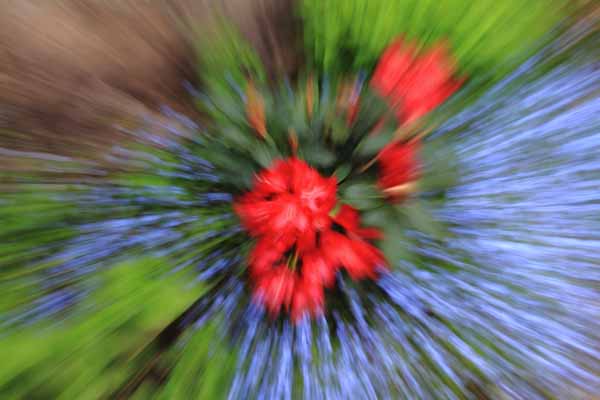
How to do it: Set your aperture to f/5.6 or higher (smaller opening). Attempt this in low light conditions, just before and just after sunset. Set your shutter time to 1/10th of a second or longer. Release the shutter and move the camera quickly from left to right. You can rotate the camera, move it up and down, or even just shake it in your hand while the shutter is open. In this technique, you will be moving the camera and the scene could have moving elements in it too (i.e. a car or a bus could be driving past, or people could be walking in the scene). The results will be random and unusual, but with practice, you can create some pretty compelling abstract images.

Camera swirl, this image was made by rotating the camera anti-clockwise while the shutter was open
4. Low light exposures
The goal in low light exposures is to have the scene in focus, and only one part in the scene moving. This is particularly interesting at night when you get light trails from a vehicle driving through your scene. You can do this in the early evening or evening if it has become dark. These images are compelling because the light trails from the vehicle seem to hang magically in the air while the vehicle itself is invisible. Another great time to shoot longer exposures is during the blue hour; the 20 to 30 minutes of soft blue light that fills the sky after the sun has set. This is a great time to do longer exposures too as the sky will look blue and your subject (a city or a landscape scene) will be well lit.
Technique
How to do it: Set your camera up on your tripod. Select an aperture setting of f/8 to f/11. Set your shutter time to expose correctly for the scene. Depending on the light your shutter time could be anywhere from 1/10th of a second to three or four seconds. As it gets darker, your shutter time will need to increase. Set yourself up in a position where something will be moving - cars, boats or even people can work well for this. Take a few shots to see how it is all working and make any adjustments. The important technique here is timing. If you want to get a shot with the car lights streaming through your shot, time it so that you release the shutter as the car is in the best place in your scene, similar to the decisive moment.
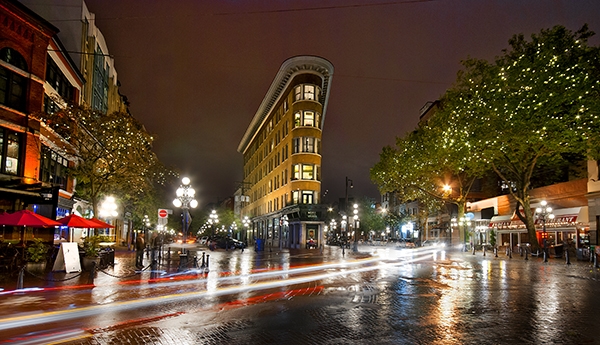
This scene works well because the light trails add some dynamic interest to the image
5. Long exposures
As the name suggests, these are longer shutter times. In some cases, they may be 20-30 seconds long, but for some really interesting images, you will want keep the shutter open for 15-20 minutes. Long exposures require the use of a 10 stop Neutral Density filter. This filter will block out the light sufficiently to allow you to open your shutter for long periods of time. The results can be amazing. You can use the ND filter in the day to make your shutter time longer. "Why would I want to do that?", you might ask. You might have a scene with a windmill in it and you want to blur the movement of the windmill as it rotates. You might also want to create a seascape scene where the waves look silky and smooth. In these cases, an ND filter will be very useful.
Technique
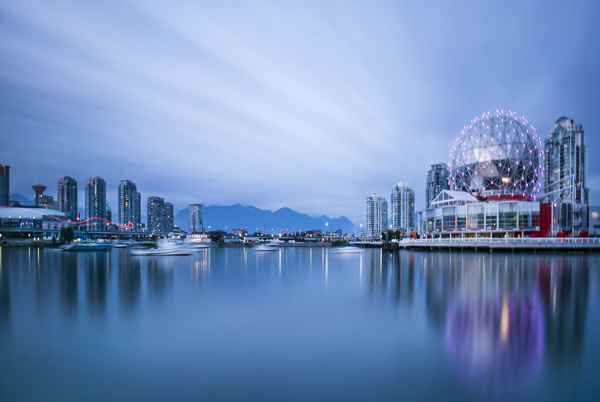
ISO 100, f/11, just under 13 minute exposure.
How to do it: Set up your camera on a tripod. Set your aperture to anywhere between f/11 and f/16. In these images, you will want to have an exposure time of 15-30 seconds and longer. You will need a cable release to go beyond 30 seconds on your exposure. You want a lot of movement in the scene, whether it is light trails or clouds moving across the sky. The longer you have the shutter open, the more surreal the image will become.
If you have an ND filter, set up your shot first, use autofocus to get everything in focus, then switch your camera to manual focus. The reason is, once you put the ND filter on your lens, the scene will become very dark. If your camera is on autofocus, it may struggle to find a focal point. If that happens, your lens will "hunt" for something to focus on and you won't be able to get the shot, or it may be out of focus. So, once you have focused your image, switch to manual focus and mount the ND filter onto your lens to make the shot. Be aware, long exposure photography can really eat up battery life, so carry spare batteries if you have them, especially on cold winter evenings!
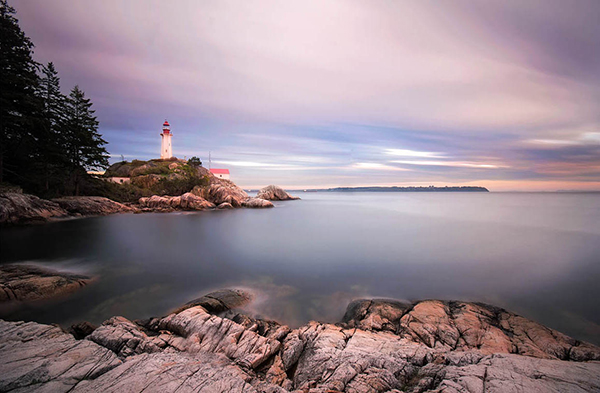
This image was exposed for four minutes, which softened the water and the clouds
6. Panning
This technique, when done correctly, can produce amazing results, but it's not easy. Panning is when you focus on a subject that is moving, and you move your camera in a horizontal plane with them. During that movement, you will release the shutter. Your exposure time will depend on the subject and the light, but in this technique you don't want to freeze the action, you want to suggest movement. A longer shutter time is preferable, so you may be shooting at 1/30th or slower. To pan effectively, you will need to practice a few shots, here are some pointers.
Technique
How to do it: Firstly, stand with a wider stance than normal. When you pan with your subject, move your body from the hips up. Timing is key, release the shutter when you think the subject is in a good position in the frame. Follow through, don't stop the movement when you release the shutter, keep moving with your subject (and at the same speed as the subject) until the shutter closes (think golf swing).
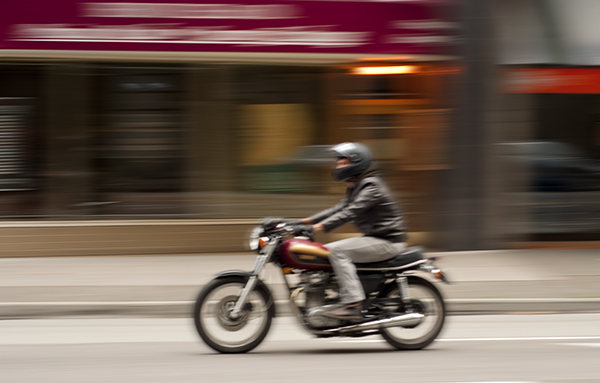
A panning shot creates a very unique sense of movement.
The next step is to go out there and get these shots. I would recommend you make an effort to try at least 20 to 30 shots of each of these techniques. Play with the settings, see what works and what doesn't. Let me know what you think and maybe even put some of the results in the comments, lets see what you get.
The post 6 Ways to Use Shutter Speed Creatively by Barry J Brady appeared first on Digital Photography School.