By Guest Contributor Matthias Weinberger
Pushing the Limits to Overcome Photography Boredom
In the beginning the most interesting part of photography for me was the element of surprise and discovery. I was never were sure if what I did would turn out to be a great picture. Like an athlete I was always looking for the next adrenaline kick.
Once you've been shooting for a couple of years that rush fades - because with the knowledge you have about lighting and composition you pretty much control everything in order for the final product to be perfect. Knowing the end result before a shoot is a must for a professional - but if you are doing it for fun it's just not enough. That's why I started to experiment with paint.
Liquids have a mind of their own so to speak - they behave according to rules you cannot control. All you can do is set up your lights, choose the right gear and hope for the best. In the following series of pictures you can see the evolution and the different colours and paints I have tried over the years. As always the end result is a surprise to me - and that keeps it fun and fresh and makes me want to come back for more.
Experimentation is part of the process of learning
I love Portraits. The human face with all it's features is an endless source of inspiration, wonder and surprise. Faces can express so many different moods and emotions-it's unbelievable.
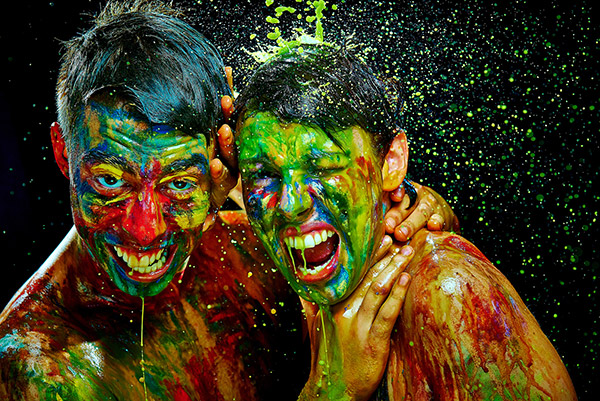
I also love to be surprised during my shoots. What does a face tell you when it's partially hidden? How does the mood of a picture change when the subject is wearing sunglasses? Or even a gas mask? What does your brain interpret? What goes on inside your head when you look at it?
Ask yourself questions, learn from the answers.
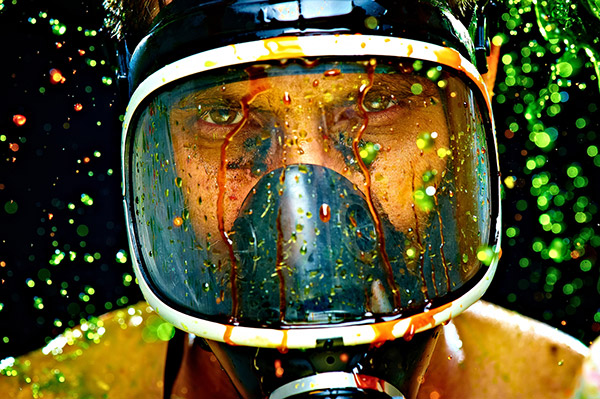
This is why I started to experiment with applying different colours in my portraits. After I found a model who was willing to try anything, I bought some body painting pens - they looked like a set of Crayons in six different colours.
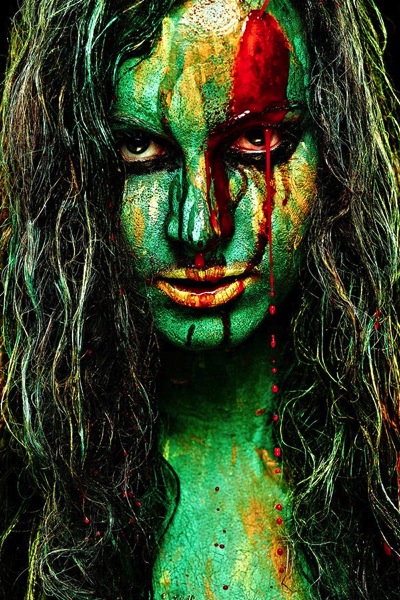
We painted the models face and that was it. In this picture you can see the effect of these pens and sugar applied to his wet face, and a bit of red food colouring poured over his head.
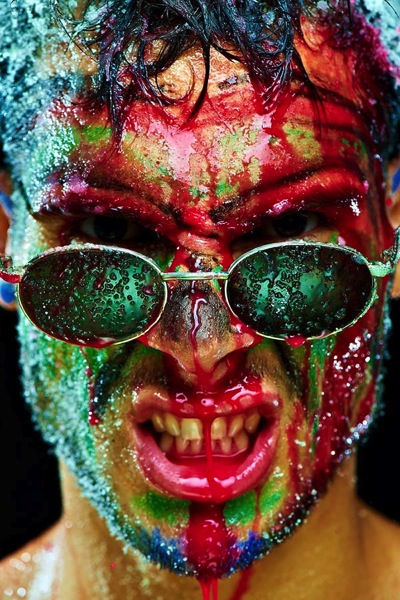
Take it up a level - get crazy
The next step was to add more "drama" fluids. At first it was milk, again, just observing what would happen. Milk is great: when you pour it on, it runs down the face in completely random patterns-some of them really interesting and fascinating. Sometimes reminds me of a satellite image of a river delta that comes out of the rainforest.
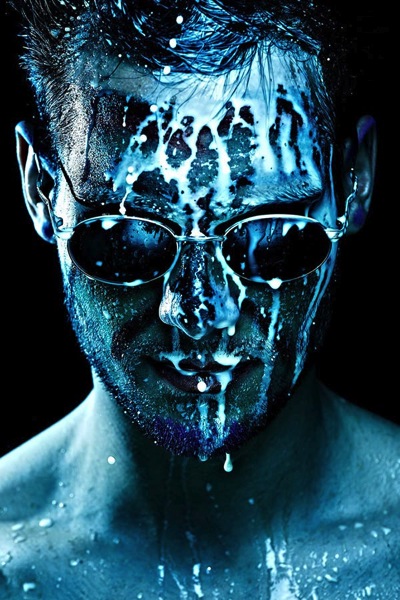
After that we started to add food colouring-red, green, yellow and orange. Some E-bay sellers made a fortune off my purchases.
I found that food colouring alone didn't give a good saturated look, the colours looked watered down. So I added tons of sugar and milk, making the mixture almost gel like. The added benefit was it also made it more viscous - so that when it ran down the face and started dripping there werea lot of single drops in the picture and also those long tendrils. Again, this is completely random and different from one picture to the next.
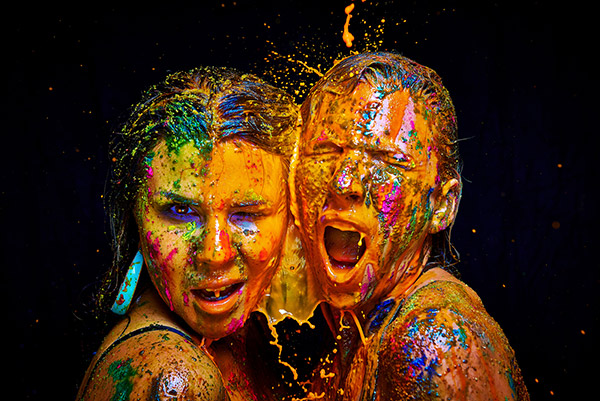
While experimenting with these different recipes for what to pour on the model, I came upon finger painting colours for toddlers. Awesome stuff! Cheap, available in a great range of different colours, and easy to wash off.
I try to cover as much skin as possible with colour. Normal skin is a distraction in these kinds of pictures.
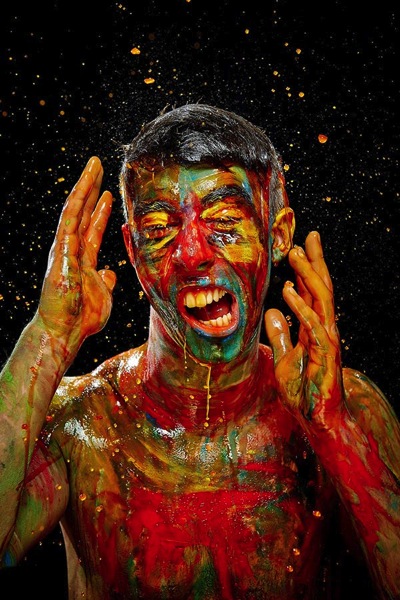
I've tried a lot of different methods for "delivery" as well: syringes, bowls in different sizes, watering cans, etc. Right now I'm using a big sponge which works really well. I just wring it out above their heads and see what happens.
Equipment
The equipment I use is:
- a Nikon D600 (used to be a D700)
- Lenses: either the 85mm 1.4 or the 24-70mm f/2.8 - both at f/7.1
- Flashes: usually 3 Speedlights. One from above into a softbox, the other two on either side as rim lights
- A California Sunbounce Mini Reflector with the Zebra side up. CLS works great indoors-so that's how I trigger the flashes.
Tips for doing this kind of shoot:
- Find a warm place, use warm water for mixing the food colouring and the sugar
- Think about how you can clean up before the shoot!
- Bring cleaning supplies, and don't use a syringe to spray red water upwards. There will be hundreds of red dots on the white ceiling!!!
Make sure the Model knows that he or she will be covered in paint, that the "recipe" tastes awful (and yes-at some point it will get in their mouth and their eyes where it will sting quite badly). Have a clean bowl of water at the ready for when it runs into their eyes so that they quickly can wash them out. If you look at her eyes you can see that it got behind her contact lens.
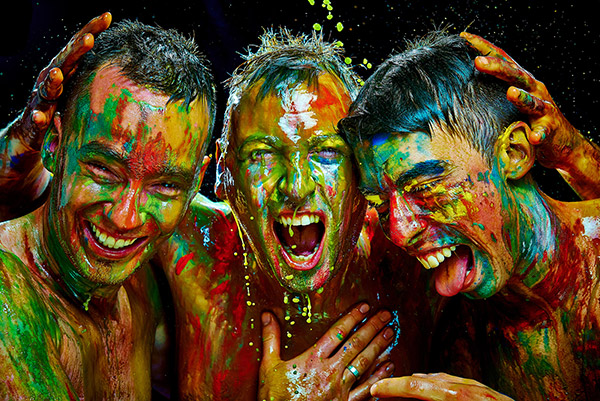
If you stand in the same spot for an hour or two your back will hurt-so we always stand on pieces of foam, much more comfortable!
Also since it's very warm in the room we are shooting in, I'm wearing shorts too. And make sure to check your lens every so often, drops of the "recipe" will find their way to the lens also. Have a clean lens cloth ready.
Processing notes
I shoot RAW and post process my shots using Capture One 7. I increase saturation, tweak the levels with the curve tool, add sharpening, and play around with the colour balance and white balance. All in all, it doesn't take me more than a minute to process a picture.
Summary and words of wisdom
As you can see, always keep pushing the envelope. If you have found a point in your work where you know what's going to happen, move on. The brain likes novelty. Changing things keeps you on your toes, you learn something new and your photography is going to improve. If it doesn't work out you can always come back to what you did before and try another approach.
Last and most of all: have fun doing it!
Matthias Weinberger is a "semi-professional button-pusher" according to his Flickr profile.
- Find more of Matthias' photos on Flickr
- Visit his website
- Find him on Facebook
Post originally from: Digital Photography Tips.
Check out our more Photography Tips at Photography Tips for Beginners, Portrait Photography Tips and Wedding Photography Tips.
Pushing the Limits to Overcome Photography Boredom
The post Pushing the Limits to Overcome Photography Boredom by Guest Contributor appeared first on Digital Photography School.
No comments:
Post a Comment